A self-loading mixer works in harsh conditions. Cement paste, sand, and aggregate can harden inside the drum within hours. That buildup reduces usable capacity, increases mixing resistance, and may damage blades, bearings, or discharge components. How to clean a self-loading mixer drum after daily use? The answer begins with timing. Rinse the drum immediately after unloading, while residue remains soft.
This 2026 guide explains a practical cleaning routine for operators, fleet managers, and maintenance teams. It follows the equipment manufacturer’s manual, ACI 304R guidance on concrete handling, and basic OSHA safety principles. Never place hands, tools, or your body inside a rotating drum. Stop the engine, isolate hydraulic power, secure the machine, and verify zero movement before inspection. Small habits matter. Use clean water, a controlled spray, and a long-handled brush when suitable. Avoid striking the drum aggressively, because damaged steel can create costly repair points.
The Global Cement and Concrete Association’s 2050 roadmap identifies the concrete value chain as a major source of industrial carbon emissions. The U.S. EPA also reports substantial construction and demolition material generation each year. Preventing hardened waste supports longer equipment life and more responsible water management. However, cleaning is not simply “more water.” Runoff should follow approved site procedures and local environmental requirements. A common field mistake is rinsing too late. Another is ignoring buildup behind blades. This guide addresses both problems, while admitting one limitation: cleaning quality depends on drum design, mix type, climate, and operator discipline. Inspect the result. Then improve the routine.
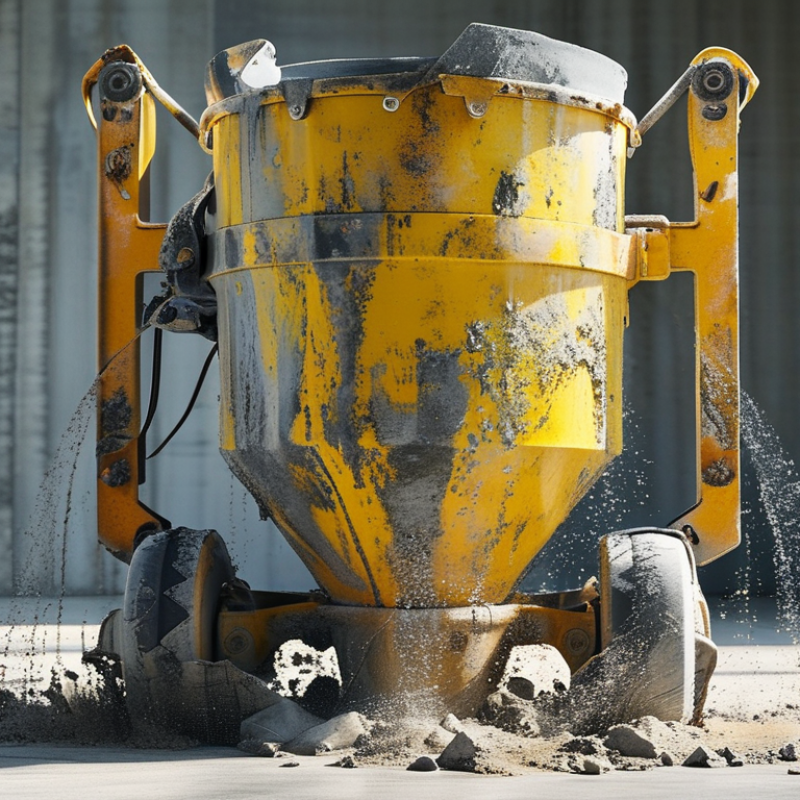
2026 Top Guide: How to Clean a Self-Loading Mixer Drum?
A self-loading mixer drum combines batching, mixing, and discharge in one rotating chamber. Its cleaning needs differ from a stationary mixer. Cement paste collects around the blades, charging hopper, and discharge opening. If ignored, this layer hardens quickly and reduces usable drum volume. The U.S. Environmental Protection Agency estimated 600 million tons of construction and demolition debris in 2018. Preventing avoidable concrete waste starts with disciplined drum maintenance.
Clean the drum immediately after discharge, while residue remains soft. Add clean water and rotate the drum at moderate speed. Scrape accessible deposits with non-sparking tools, not aggressive impacts. Never place hands inside the drum. Hardened buildup may require mechanical removal by trained personnel. OSHA limits respirable crystalline silica exposure to 50 micrograms per cubic meter over eight hours. Dry chipping can create hazardous dust, so wet methods and suitable respiratory controls matter.
Wash water is not ordinary wastewater. Concrete residue can produce highly alkaline runoff, often above pH 11. Collect it in a designated washout area and prevent entry into soil or drains. Inspect the drum after cleaning: blades should rotate freely, openings should remain clear, and no thick ring should cover the shell. My practical mistake was rinsing only the visible discharge zone. The hidden upper wall still held paste. A short inspection saves more time than a later repair.
| Cleaning Area | Recommended Timing | Requirement | Recommended Cleaning Practice | Completion Check |
|---|---|---|---|---|
| Work Preparation | Before cleaning | Secure the machine and work area | Park on stable, level ground, apply the parking brake, place the transmission in neutral, lower the loader or bucket, and stop the engine. Keep unauthorized personnel away from the washout area. | Machine is stable, controls are secured, and the work zone is clearly separated. |
| Personal Protection | Every cleaning cycle | Use suitable PPE | Wear safety glasses or a face shield, waterproof gloves, protective clothing, and slip-resistant safety footwear. Use hearing protection when operating near high-pressure washing equipment. | PPE is worn correctly and is suitable for wet cement, alkaline residue, and splash hazards. |
| Drum Residue | Immediately after discharge | Remove fresh concrete before it hardens | Rinse the drum, blades, discharge chute, hopper, and surrounding splash areas as soon as practical after unloading. Fresh cement paste is significantly easier to remove than hardened concrete. | No visible fresh concrete remains on the drum opening, blades, chute, or hopper. |
| Drum Interior | After each load or shift | Flush internal surfaces | Add clean water only in the quantity permitted by the equipment operating instructions, rotate the drum at low speed, and rinse the internal surfaces. Discharge the wash water in an approved washout area. | Internal surfaces are free of loose cement paste and aggregate buildup; no uncontrolled water is released to soil or drains. |
| Drum Blades | Daily and after heavy use | Inspect blade edges and buildup | Check the helical blades and rear mixing section for hardened deposits. Remove loose deposits with a suitable non-sparking hand tool or approved mechanical method while the drum is stopped. | Blades remain identifiable, the mixing path is not obstructed, and no loose pieces can detach during operation. |
| Exterior Surfaces | After each workday | Wash exposed concrete-contact areas | Rinse the drum exterior, discharge chute, loader bucket, hopper, frame, and mudguards. Avoid directing water into electrical connectors, control panels, air intakes, bearings, or other sealed components. | Concrete splashes are removed without water intrusion or damage to sensitive components. |
| Pressure Washing | As required | Control water pressure and spray direction | Use the lowest pressure that effectively removes residue. Keep the spray moving and maintain a safe distance from seals, hoses, electrical parts, decals, and painted surfaces. Never direct the jet at people. | No damaged seals, loosened fittings, exposed wiring, or stripped coatings are observed after washing. |
| Hardened Concrete | When buildup is found | Use controlled mechanical removal | Stop and isolate the machine before removing hardened material. Use methods approved for the drum and lining. Do not hammer aggressively on thin drum sections, blades, hydraulic parts, or pressurized components. | Deposits are removed without dents, cracks, blade deformation, lining damage, or hydraulic leakage. |
| Chemical Use | Only when necessary | Select compatible cleaning products | Use only a product specifically suitable for cement or concrete residue and compatible with the drum coating, seals, hoses, and painted surfaces. Follow the product label, dilution, contact-time, and rinsing instructions. | The surface is thoroughly rinsed and shows no chemical residue, discoloration, or coating attack. |
| Water Management | Every washout | Contain and manage wash water | Collect concrete wash water and settled solids in a designated washout system. Do not discharge alkaline cement water into storm drains, surface water, soil, or ordinary wastewater systems unless local requirements permit it. | Wash water is contained, solids are controlled, and disposal follows applicable local environmental rules. |
| Lubrication Points | After washing, as scheduled | Protect service points from water and contamination | After the machine is clean and dry, inspect and lubricate specified grease points according to the operating manual. Do not apply grease to surfaces intended to contact concrete unless specifically required. | Required grease points are serviced, and excess grease has not contaminated the drum or concrete-contact surfaces. |
| Inspection | Daily or before next use | Check structural and operating condition | Inspect the drum, blades, chute, hopper, guards, hydraulic hoses, water lines, fasteners, seals, and access steps. Look for cracks, abnormal wear, leaks, loose hardware, and concrete buildup. | Defects are recorded and repaired before the mixer returns to service. |
| Confined-Space Safety | Whenever interior entry is considered | Do not enter the drum as a routine cleaning method | Never enter the drum while it can rotate. Interior entry requires a documented confined-space procedure, isolation of all energy sources, atmospheric evaluation where applicable, an attendant, and an approved rescue plan. | Cleaning is completed externally whenever possible; any entry is formally authorized and controlled. |
| Cleaning Frequency | Daily, weekly, monthly | Match cleaning depth to operating conditions | Perform a basic rinse after each discharge, a detailed wash and inspection at the end of each shift, and a planned buildup inspection at least weekly. Increase frequency in hot, dry, high-production, or high-splash conditions. | Cleaning records show the date, operator, areas cleaned, defects found, and corrective actions taken. |
: Park it on firm, level ground. Lower the bucket and engage the parking brake. Stop the engine and remove the key. Wait until all movement stops. Release stored hydraulic pressure as instructed in the manual.
Wear gloves, safety glasses, sturdy boots, and hearing protection near running equipment. Secure long hair and avoid loose clothing. Keep hands away from blades and moving parts.
Prepare clean water, a low-pressure hose, a stiff brush, a plastic scraper, absorbent cloths, and a waste container. Keep tools outside the drum’s rotation area.
Clean the drum soon after discharge. Fresh residue softens with controlled water and slow drum rotation. Hardened concrete usually requires more time and effort.
Add clean water in controlled amounts. Rotate the drum slowly for several minutes. Direct water toward blades, corners, the rear plate, and the discharge opening.
No. Never climb inside the drum or place hands near blades. Use a long-handled scraper from a safe position. A second worker can monitor controls and nearby movement.
Shine a work light across the drum wall. Raised shadows may reveal deposits behind blades or near the opening. Wash again if residue remains. Appearance can mislead.
Keep surfaces wet and avoid dry cutting or aggressive grinding. Follow local exposure rules and use required respiratory protection. Pause and check the manual before applying force.
Collect wash water in a suitable container or approved washout area. Prevent discharge into soil or drains. Follow local environmental requirements.
Clean it after each cycle whenever conditions allow. Inspect the blades, discharge opening, and water lines. Record unusual buildup. This routine is not perfect, but delayed cleaning often creates harder deposits.
Cleaning a self-loading mixer drum after every working day helps prevent hardened concrete, protects the mixing blades, and keeps the machine ready for its next task. How to clean a self-loading mixer drum after daily use? First, park the mixer on stable ground, switch off the engine, release pressure, and wear suitable protective equipment. Prepare clean water, a high-pressure washer, brushes, scrapers, and approved cleaning tools. Remove fresh concrete residue as soon as possible, starting with the drum opening, discharge area, and exposed surfaces.
Rinse the drum interior thoroughly, then clean the blades, chute, hopper, and water system to remove trapped cement paste and aggregate. Avoid damaging electrical parts, hydraulic components, and seals with uncontrolled water pressure. After washing, inspect the drum, blades, discharge gate, and connecting points for buildup, cracks, or unusual wear. Drain remaining water, allow all surfaces to dry, and lubricate or service components according to the machine’s maintenance requirements. Regular cleaning improves mixing performance, reduces repairs, and extends the mixer’s useful working life.

 BestDeal Forklifts