How to Determine Vibration Frequency for Each Soil Type in 2026

Time:2026-11-04 Author:Sophia
0%

Choosing a vibration frequency by soil type is not a lookup-table exercise. Soil can change how vibration travels, but the machine, operating speed, depth, moisture, and nearby structures matter too. How to determine the vibration frequency for different soil types? Start with measured ground response, not a generic “sand” or “clay” setting.

The Federal Transit Administration’s 2018 Transit Noise and Vibration Impact Assessment Manual explains how vibration frequency and ground conditions affect propagation and human response. USGS and NEHRP site-classification guidance also shows why soil profiles matter: stiffness and subsurface layers can influence ground motion. These references provide useful context, but neither gives one universal operating frequency for every soil category. That distinction matters.

In practice, engineers identify the soil profile, review equipment specifications, and take baseline measurements with a calibrated vibration meter. They then conduct controlled trials, recording frequency, peak particle velocity, distance, and operating conditions. A loose, damp surface may behave differently from dense gravel, even at the same site. Small details count. If results shift after rain or compaction, revisit the settings rather than trusting yesterday’s readings. That is not a flaw in the method; it is a reminder that field conditions are rarely perfect. This guide explains how to select and verify a suitable frequency in 2026, while treating published reports as evidence—not substitutes for site-specific testing.
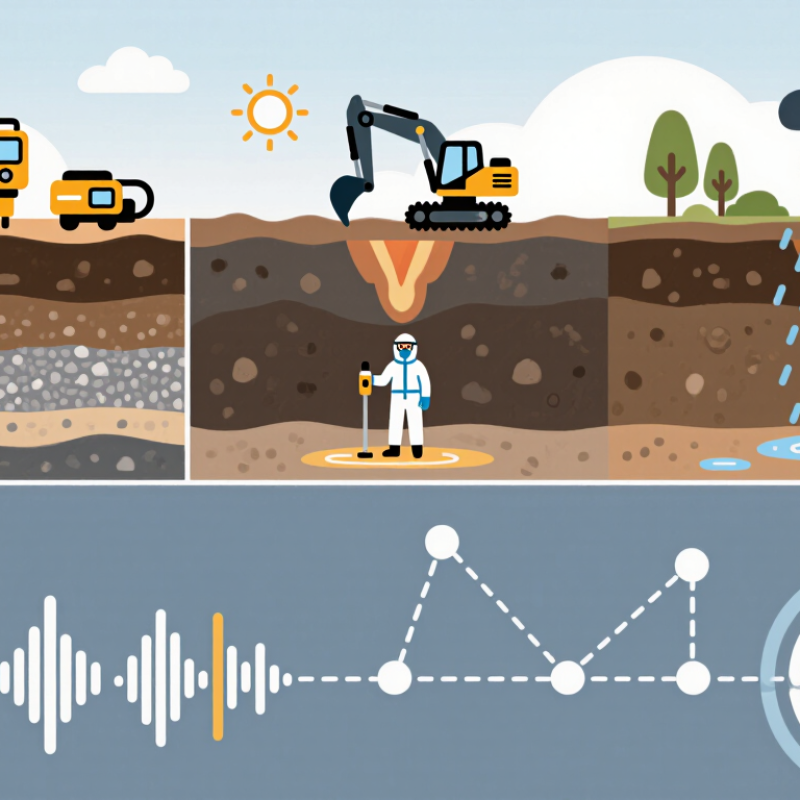
How to Determine Vibration Frequency for Each Soil Type in 2026

Classify Soil Gradation and Plasticity Using ASTM D2487 (USCS)

How to Determine Vibration Frequency for Each Soil Type in 2026
Classify Soil Gradation and Plasticity Using ASTM D2487 (USCS)

Before selecting a vibration frequency, identify what the soil actually contains. ASTM D2487 classifies soil using particle-size distribution and, for fine-grained soils, liquid limit and plasticity index. The FHWA Soils and Foundations Reference Manual (NHI-06-088) describes these standard classification tests. Under USCS, soil is coarse-grained when more than 50% is retained on the 0.075 mm sieve. The 4.75 mm sieve then helps distinguish gravel from sand.

Small details matter.

For coarse soils, fines content also changes the symbol: below 5% generally indicates clean gravel or sand; above 12% indicates soil with fines. Between those values, dual symbols may apply. For fine-grained soils, 50% or more passes the 0.075 mm sieve. A liquid limit below 50 separates low-plasticity groups from high-plasticity groups; the plasticity index helps distinguish silt from clay. ASTM D2487 defines these boundaries, but a poorly mixed sample can still distort the result.

USCS classification is a starting point, not a frequency prescription. Vibration response also depends on moisture, density, confinement, equipment, and the target task. A loose, damp sand may behave differently from dense, dry sand, despite sharing a classification.

Not a frequency recipe.

Use the lab classification to guide site-specific trials and dynamic measurements, then verify performance in the field. I would not infer an exact operating frequency from a soil symbol alone.

Check the Compactor’s Published Operating Range, Commonly 25–60 Hz

A compactor’s published operating range is the safest starting point for selecting vibration frequency. Many machines operate between 25 and 60 Hz, but the exact range depends on the equipment. Check the manual or specification plate, and confirm whether the stated frequency applies under working conditions. A number measured without soil contact may not match performance on site.

Soil type helps narrow the choice. Granular soils, such as sand and gravel, often respond well to higher frequencies and steady travel. Cohesive clay may need a slower pace and settings suited to the machine’s impact energy, rather than simply the highest frequency. Watch the surface: loose particles should settle, not scatter, and the drum should move without bouncing. Small signs matter.

Make a short test pass on a representative area. Keep lift thickness and moisture reasonably consistent, then check density using an approved field method. If the soil pumps, shoves, or develops a rippled surface, pause and reassess the setting, moisture, or number of passes. Frequency alone cannot fix a poor lift. I have seen a neat-looking surface hide uneven compaction beneath it, so verify the result instead of trusting appearance. The 25–60 Hz range is a reference, not a soil-by-soil prescription.

Trial-Adjust Frequency for Granular, Cohesive, and Mixed Soils

Frequency is not a fixed number for a soil label. It depends on the machine, layer thickness, moisture, and compaction target. Follow the equipment’s operating limits, then make small, controlled adjustments. Keep amplitude, travel speed, and pass count steady while testing; changing several variables at once hides the cause of a result.

Granular soils, such as clean sand or gravel, may respond well to higher-frequency vibration with lower amplitude, subject to the machine’s guidance. Cohesive clay can need a different balance, since excess vibration may make wet soil deform rather than compact. Mixed soils are less predictable. Watch what happens where gravelly and clay-rich patches meet. An initial setting is only a working guess, and it may be wrong.

Tips: Test a short section first. Record frequency, speed, moisture, and visible response. Look for even surface movement and check density with an appropriate field test. If the soil pumps, ruts, or shifts sideways, pause and reassess moisture, amplitude, or frequency. Change one setting at a time, in small steps, and compare results under similar conditions. A smooth-looking surface alone does not confirm adequate compaction.

How to Determine Vibration Frequency for Each Soil Type in 2026

Trial-adjust frequency for granular, cohesive, and mixed soils.

These are practical starting bands for field trials, not universal soil specifications. Actual response depends on the machine, lift thickness, moisture, and site conditions. Begin within the equipment manufacturer's limits, adjust frequency in steps, and verify compaction using the project’s specified test method.

Measure Field Density and Moisture with ASTM D6938

Vibration frequency should not be chosen from soil type alone. ASTM D6938 measures in-place wet density and water content using a nuclear gauge; dry density can then be calculated. It does not prescribe compactor settings. Treat the readings as field feedback, not a frequency recommendation. Small distinction, big difference.

FHWA’s Soils and Foundations Reference Manual (NHI-06-088) explains relative compaction as field dry density compared with laboratory maximum dry density. A 95% target is common in earthwork specifications, but the project documents govern. For a useful comparison, record the gauge’s test mode, test location, lift thickness, and moisture reading. A reading from a damp surface may not represent the full compacted lift.

ASTM D6938 results can help identify whether a layer is too wet or too loose before crews adjust vibration settings. Check unusual soils carefully: bound water, coarse particles, or uneven moisture can affect readings. Where results seem inconsistent, verify the method and consider a suitable independent test. One point to revisit: a precise number can still mislead if the test spot misses the layer’s weak area. Sources: ASTM D6938, Standard Test Methods for In-Place Density and Water Content of Soil and Soil-Aggregate by Nuclear Methods; FHWA, Soils and Foundations Reference Manual, NHI-06-088.

Record Frequency, Amplitude, Travel Speed, and Passes for Each Test Strip

For each soil type, mark a test strip and hold lift thickness and moisture as steady as practical. Record vibration frequency in hertz, amplitude in millimeters, travel speed, and pass count for every run. Note the drum setting and measurement method; “amplitude” can mean different things across instruments. Small differences matter. Sandy soil, silt, and clay may respond differently, so compare results within each soil group rather than treating one setting as universal.

Use a compact field log: soil description, moisture, lift thickness, frequency, amplitude, speed, passes, and measured density or stiffness.

The FHWA technical brief FHWA-HIF-13-046 describes intelligent compaction systems that map roller passes and compaction response, supporting consistent, location-linked records. For context, ASTM D698 and D1557 define laboratory compaction efforts of about 600 and 2,700 kN·m/m³, respectively. Those are laboratory benchmarks, not direct roller settings.

Change one operating variable at a time, then test the next strip. Keep travel speed steady; a faster pass can reduce effective compaction time. Plot pass count against density or stiffness, and flag spots that remain weak after repeated coverage. Check moisture before adjusting frequency. A neat spreadsheet cannot fix a poor test layout, and field notes are sometimes messier than planned. Record that too.

FAQS

How does USCS classify coarse-grained soil?

Soil is coarse-grained when more than 50% stays on the 0.075 mm sieve. The 4.75 mm sieve helps separate gravel from sand.

How does fines content affect a soil symbol?

Below 5% fines usually indicates clean gravel or sand. Above 12% indicates soil with fines. Between those levels, a dual symbol may apply. Small details matter.

How are fine-grained soils distinguished?

Fine-grained soil has 50% or more passing the 0.075 mm sieve. A liquid limit below 50 marks a low-plasticity group. The plasticity index helps distinguish silt from clay.

Can a soil classification determine the exact vibration frequency?

No. Soil classification is only a starting point. Moisture, density, confinement, equipment, and the task also affect vibration response. Not a recipe.

What frequency range do many compactors use?

Many operate between 25 and 60 Hz, but ranges vary. Check the machine manual or specification plate, and confirm the stated range applies during work.

Do sand and clay respond to vibration in the same way?

Not always. Sand and gravel often respond well to higher frequencies and steady travel. Clay may need a slower pace and settings suited to the machine’s impact energy.

What should I check during a test pass?

Try a representative area with consistent lift thickness and moisture. Watch for scattered particles, bouncing, pumping, shoving, or ripples. Pause and reassess if these appear.

Is a smooth-looking surface proof of good compaction?

No. Check density with an approved field method. A tidy surface can hide uneven compaction below. I still would not trust appearance alone.

Conclusion

How to determine the vibration frequency for different soil types? Begin by classifying the soil’s gradation and plasticity under ASTM D2487, then compare its characteristics with the compactor’s published operating range, which commonly spans 25–60 Hz. Treat this range as a starting point rather than a fixed prescription: granular soils, cohesive soils, and mixed soils may respond differently, so adjust frequency through controlled trial sections and observe compaction performance.

For each test strip, measure field density and moisture using ASTM D6938, and document the conditions alongside frequency, amplitude, travel speed, and number of passes. Comparing these records helps identify a suitable operating setup for each soil and site condition. Recheck results when moisture or material characteristics change, and use measured field performance—not soil labels alone—to guide adjustments.

Sophia

Sophia

Sophia is a dedicated marketing professional with an exceptional depth of knowledge about her company's products and services. With a keen understanding of market trends and customer needs, she crafts insightful blog posts that not only inform but also engage readers, enriching the company’s online......